The Echo code sample can be found in the AppFabricSamples\ServiceBus\Getting Started folder of the WinAzureAppFabricSDKSamplesV1C# download.
Since these samples are intended to work using Windows Azure AppFabric Portal (subscription account) some configuration work is necessary in your environment and in the 'Access Control Service' section of your FREE Windows Azure AppFabric Labs Portal Account.
Assuming you have signed up for a FREE Windows Azure AppFabric LABS Portal Account, you have created a project and a service namespace (see the How to create a Windows Azure Labs portal account blog entry on how to accomplish this).
1) Windows Azure AppFabric SDK page, download SDK-x64 for 64bit OS or x86 for 32bit OS, SDK code samples and appfabric docs.
http://www.microsoft.com/downloads/en/details.aspx?FamilyID=39856a03-1490-4283-908f-c8bf0bfad8a5&displaylang=en
Install appropriate SDK.
2) Windows Azure AppFabric LABS SDK Aug 2010 download page which can be found here
http://www.microsoft.com/downloads/en/details.aspx?FamilyID=D89640FC-C552-446E-AEAD-B1E0D940F31B
There is no SDK to download here since you already have the Windows Azure AppFabric SDK downloaded and installed. Download Release Notes and ServiceBus.config.txt files.
RENAME ServiceBus.config.txt to ServiceBus.config
Paste ServiceBus.config in the following dir (if you have 64bit)
C:\Windows\Microsoft.Net\Framework64\v2.0.50727\CONFIG
If you're using 32bit then replace Framework64 with your 32bit folder.
3) Load the Echo code sample into VisualStudio. There are 2 projects in the solution both console app's, a WCF Service and a Client. Before you can run the app you need to create Issuer Credentials ie. an Issuer Name and Issuer Key(Issuer Secret). Later when you do run the app, run the service first, once its running start an instance of the Client, in the Client console you will be asked to enter some text to echo, the text you enter will then be echoed back by the Service.
The Service takes your Issuer credentials passes them directly to AppFabric's ACS, then an endpoint is opened on the Service Bus in the Cloud. In order for the Client to access this Service Bus endpoint, it must have permission to communicate with it. The Client also takes your Issuer credentials, authenticates with AppFabric ACS Service in the Cloud, and aquires an access token that proves to the service bus infrastructure that the Client is authorized to access this endpoint. Once the client is connected you can type messages into Client console window and you will see messages echoed back by the running Service.
4) Next create an Issuer Name and Issuer Secret (key). Sign in to your LABS Portal Account, select the project you created, then decide which Service Namespace you wish to use with this app. Click on the SERVICE BUS link of the service namespace you've chosen. The screen below is where you should be now, click orange Manage button to go to ACS Management Portal where you will create your new Issuer Credentials.

Access Control Service is the next screen you will see, select Identity Providers (Step 1), the Echo app uses a very simple straight forward approach for dealing with authorization and authentication.
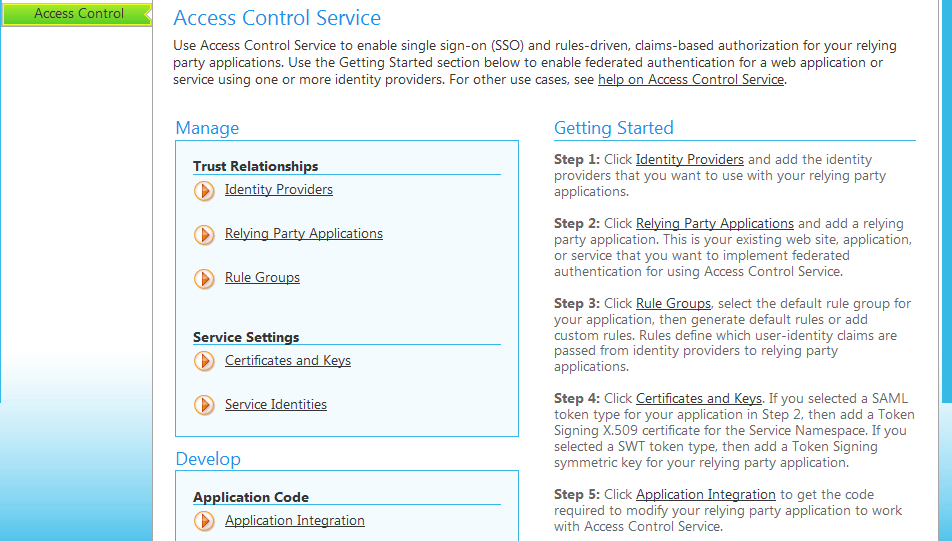
On the Identity Providers page select Service Identities

On the Service Identities page, we will create an Issuer Name and Key. Select Add Service Identity.

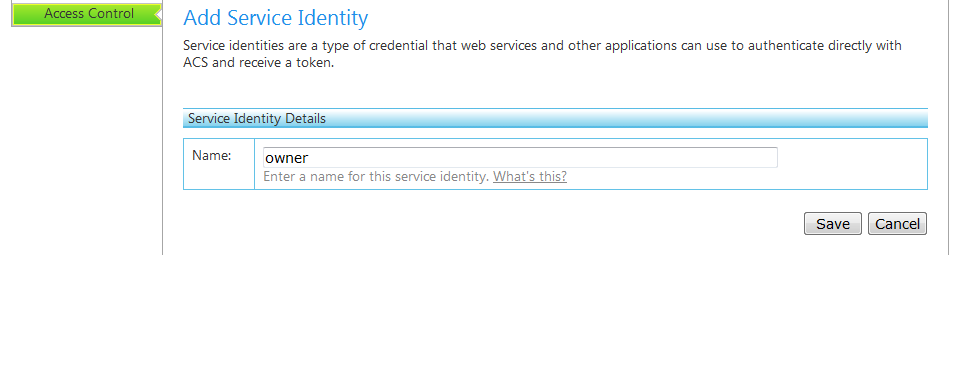
Enter owner as the Name, its the default name used by Microsoft, then press Save.

On the Add Credential page enter owner as display name, for Type select Symmetric Key (this is your Issuer key/Issuer Secret). Press the Generate button to create key, then press Save button.

You now have a new Issuer Name(owner) and Key. Under Credentials hover over your new Issuer(owner), the line will turn a blue colour, click on to blue line to see your full Issuer details, this takes you to the Edit Credential page.
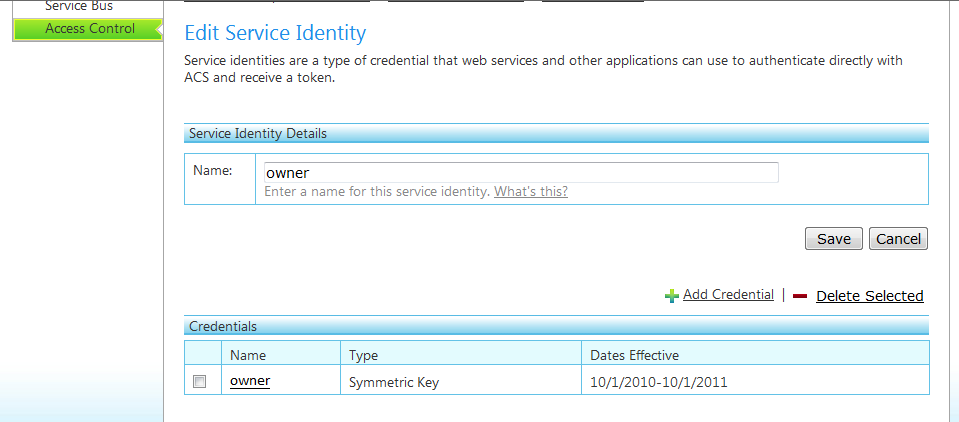
The Edit Credential page looks the same as the Add Credential page (see second image above). Click on the Service Identities link, it is just above the Edit Credential title near the top of this page. This will take you to the main Service Identities page which list all the Identities created including your new Issuer(owner) credential.

5) In Visual Studio expand Client project, open Program.cs. Comment out the following code lines as shown below.
/* Console.Write("Your Service Namespace: ");
string serviceNamespace = Console.ReadLine();
Console.Write("Your Issuer Name: ");
string issuerName = Console.ReadLine();
Console.Write("Your Issuer Secret: ");
string issuerSecret = Console.ReadLine(); */
Directly underneath add the following 3 lines of code. Enter your own service namespace (the one you created your Issuer Credentials under) and then enter your Issuer Key ( issuerSecret), this was generated for you.
string serviceNamespace = " "; //add your service namespace here
string issuerName = "owner";
string issuerSecret = " "; //add your generated key here
Make the above code changes in the Service project of your solution as well. Save changes and Build Solution.
Press F5 to start, the Service Command Window will open, it may seem to be slow, but give the Service time to establish a connection to the Service Bus, things will run faster after initial connection is made. Once you see your service bus URL on the first line and press enter to exit appear on the second line, the Service is up and running.
While the Echo service is running you can see it publicly listed from your LABS Portal Account. Go to the Service Bus section of your service namespace, under the Service Bus title click Registry URL (see first image under Step 4)). In the image below you can see an Echo Service listed, once you stop your Service running it will no longer appear there.

The Echo code sample is a simple introduction to service remoting. A Client and a Service both hosted on-premise behind firewalls can communicate via a Cloud Service Bus Endpoint (URL).
Creating Issuer credentials was an easy and straight forward way to ensure the Service (its Endpoint in the cloud) was only accessible by Clients with the correct credentials, preventing the possibility of just any Tom, Dick and Harry accessing the Service.
That concludes this guide to getting started with Windows Azure AppFabric LABS Portal using the Echo code sample.